2026 preseason CAD release
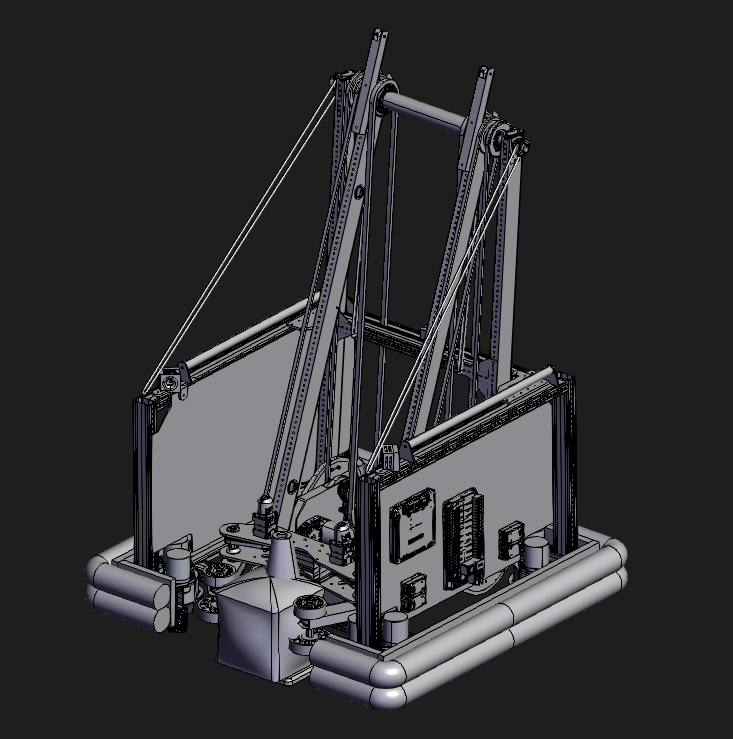
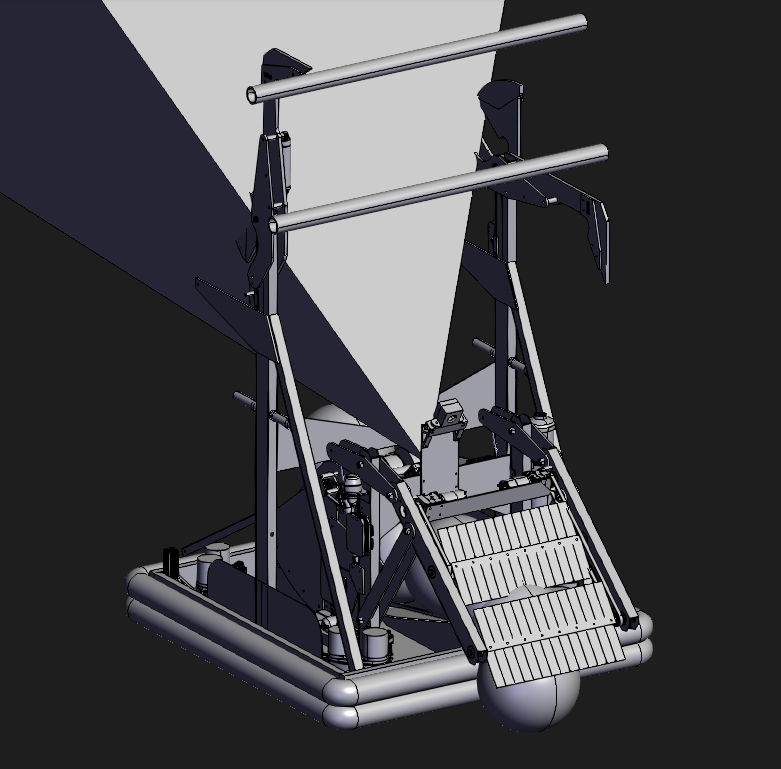
Triple Helix developed new models for a swerve robot frame and bumpers. The team plans to use these designs in the upcoming 2026 FIRST Robotics Competition season.
Triple Helix developed new models for a swerve robot frame and bumpers. The team plans to use these designs in the upcoming 2026 FIRST Robotics Competition season.
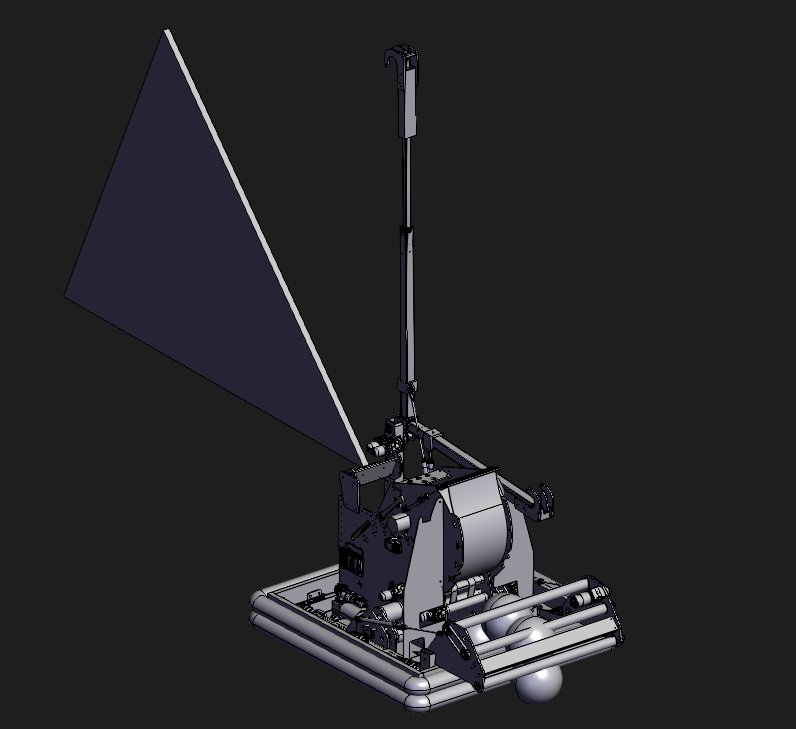
Latest complete CAD model of Genome Pi, the Triple Helix robot for the 2025 FIRST Robotics Competition game, Reefscape.
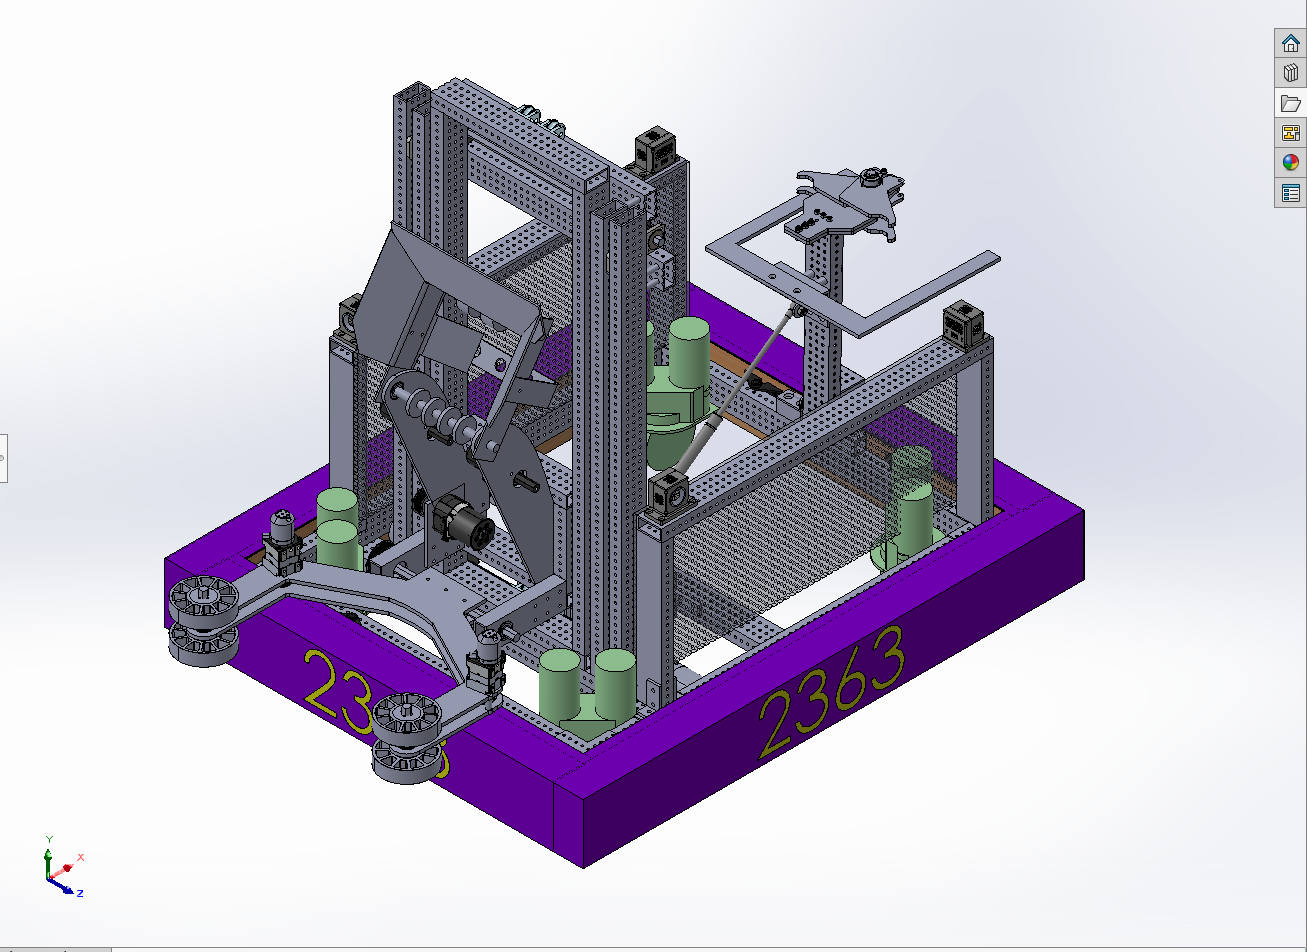
Latest complete CAD model of Genome Xi, the Triple Helix robot for the 2023 FIRST Robotics Competition game, Charged Up.
When setting up new laptops for the team, Triple Helix installs the following suite of programs.
Triple Helix strongly endorses WPILib’s Driver Station Best Practices guide for driver station laptops.
All software required for an FRC driver station laptop, plus:
Latest complete CAD model of Genome Nu, the Triple Helix robot for the 2022 FIRST Robotics Competition game, Rapid React.
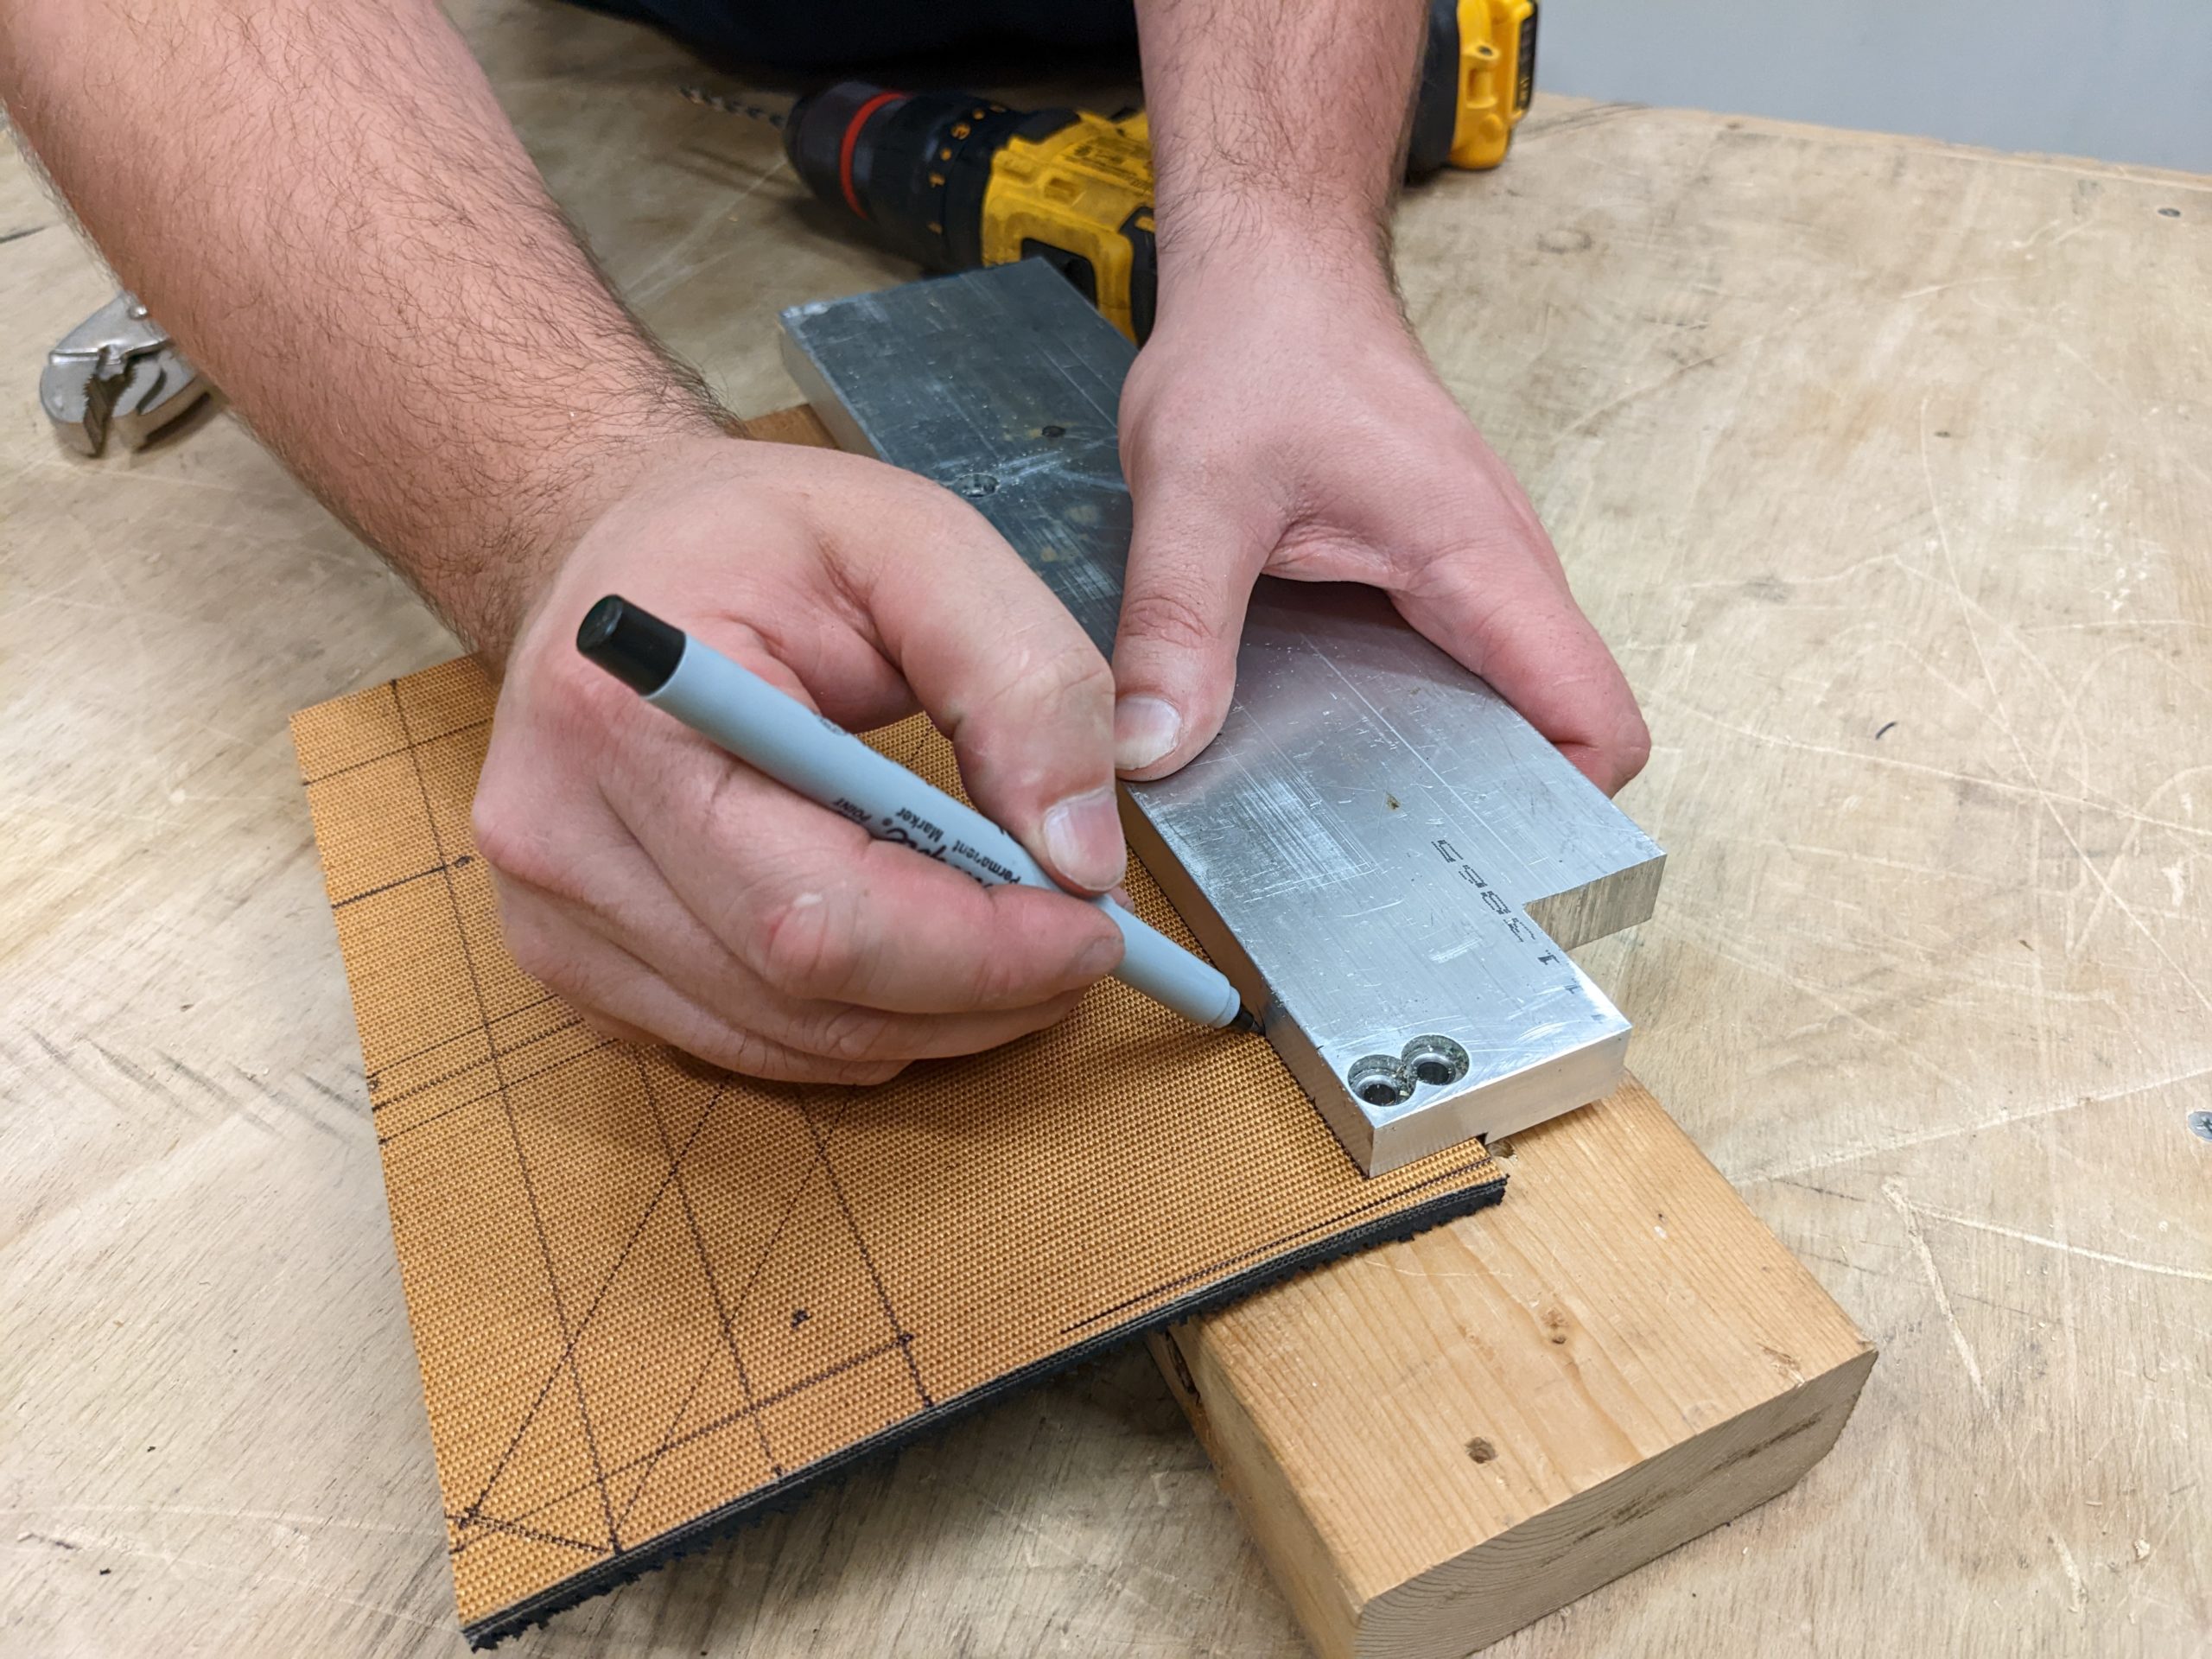
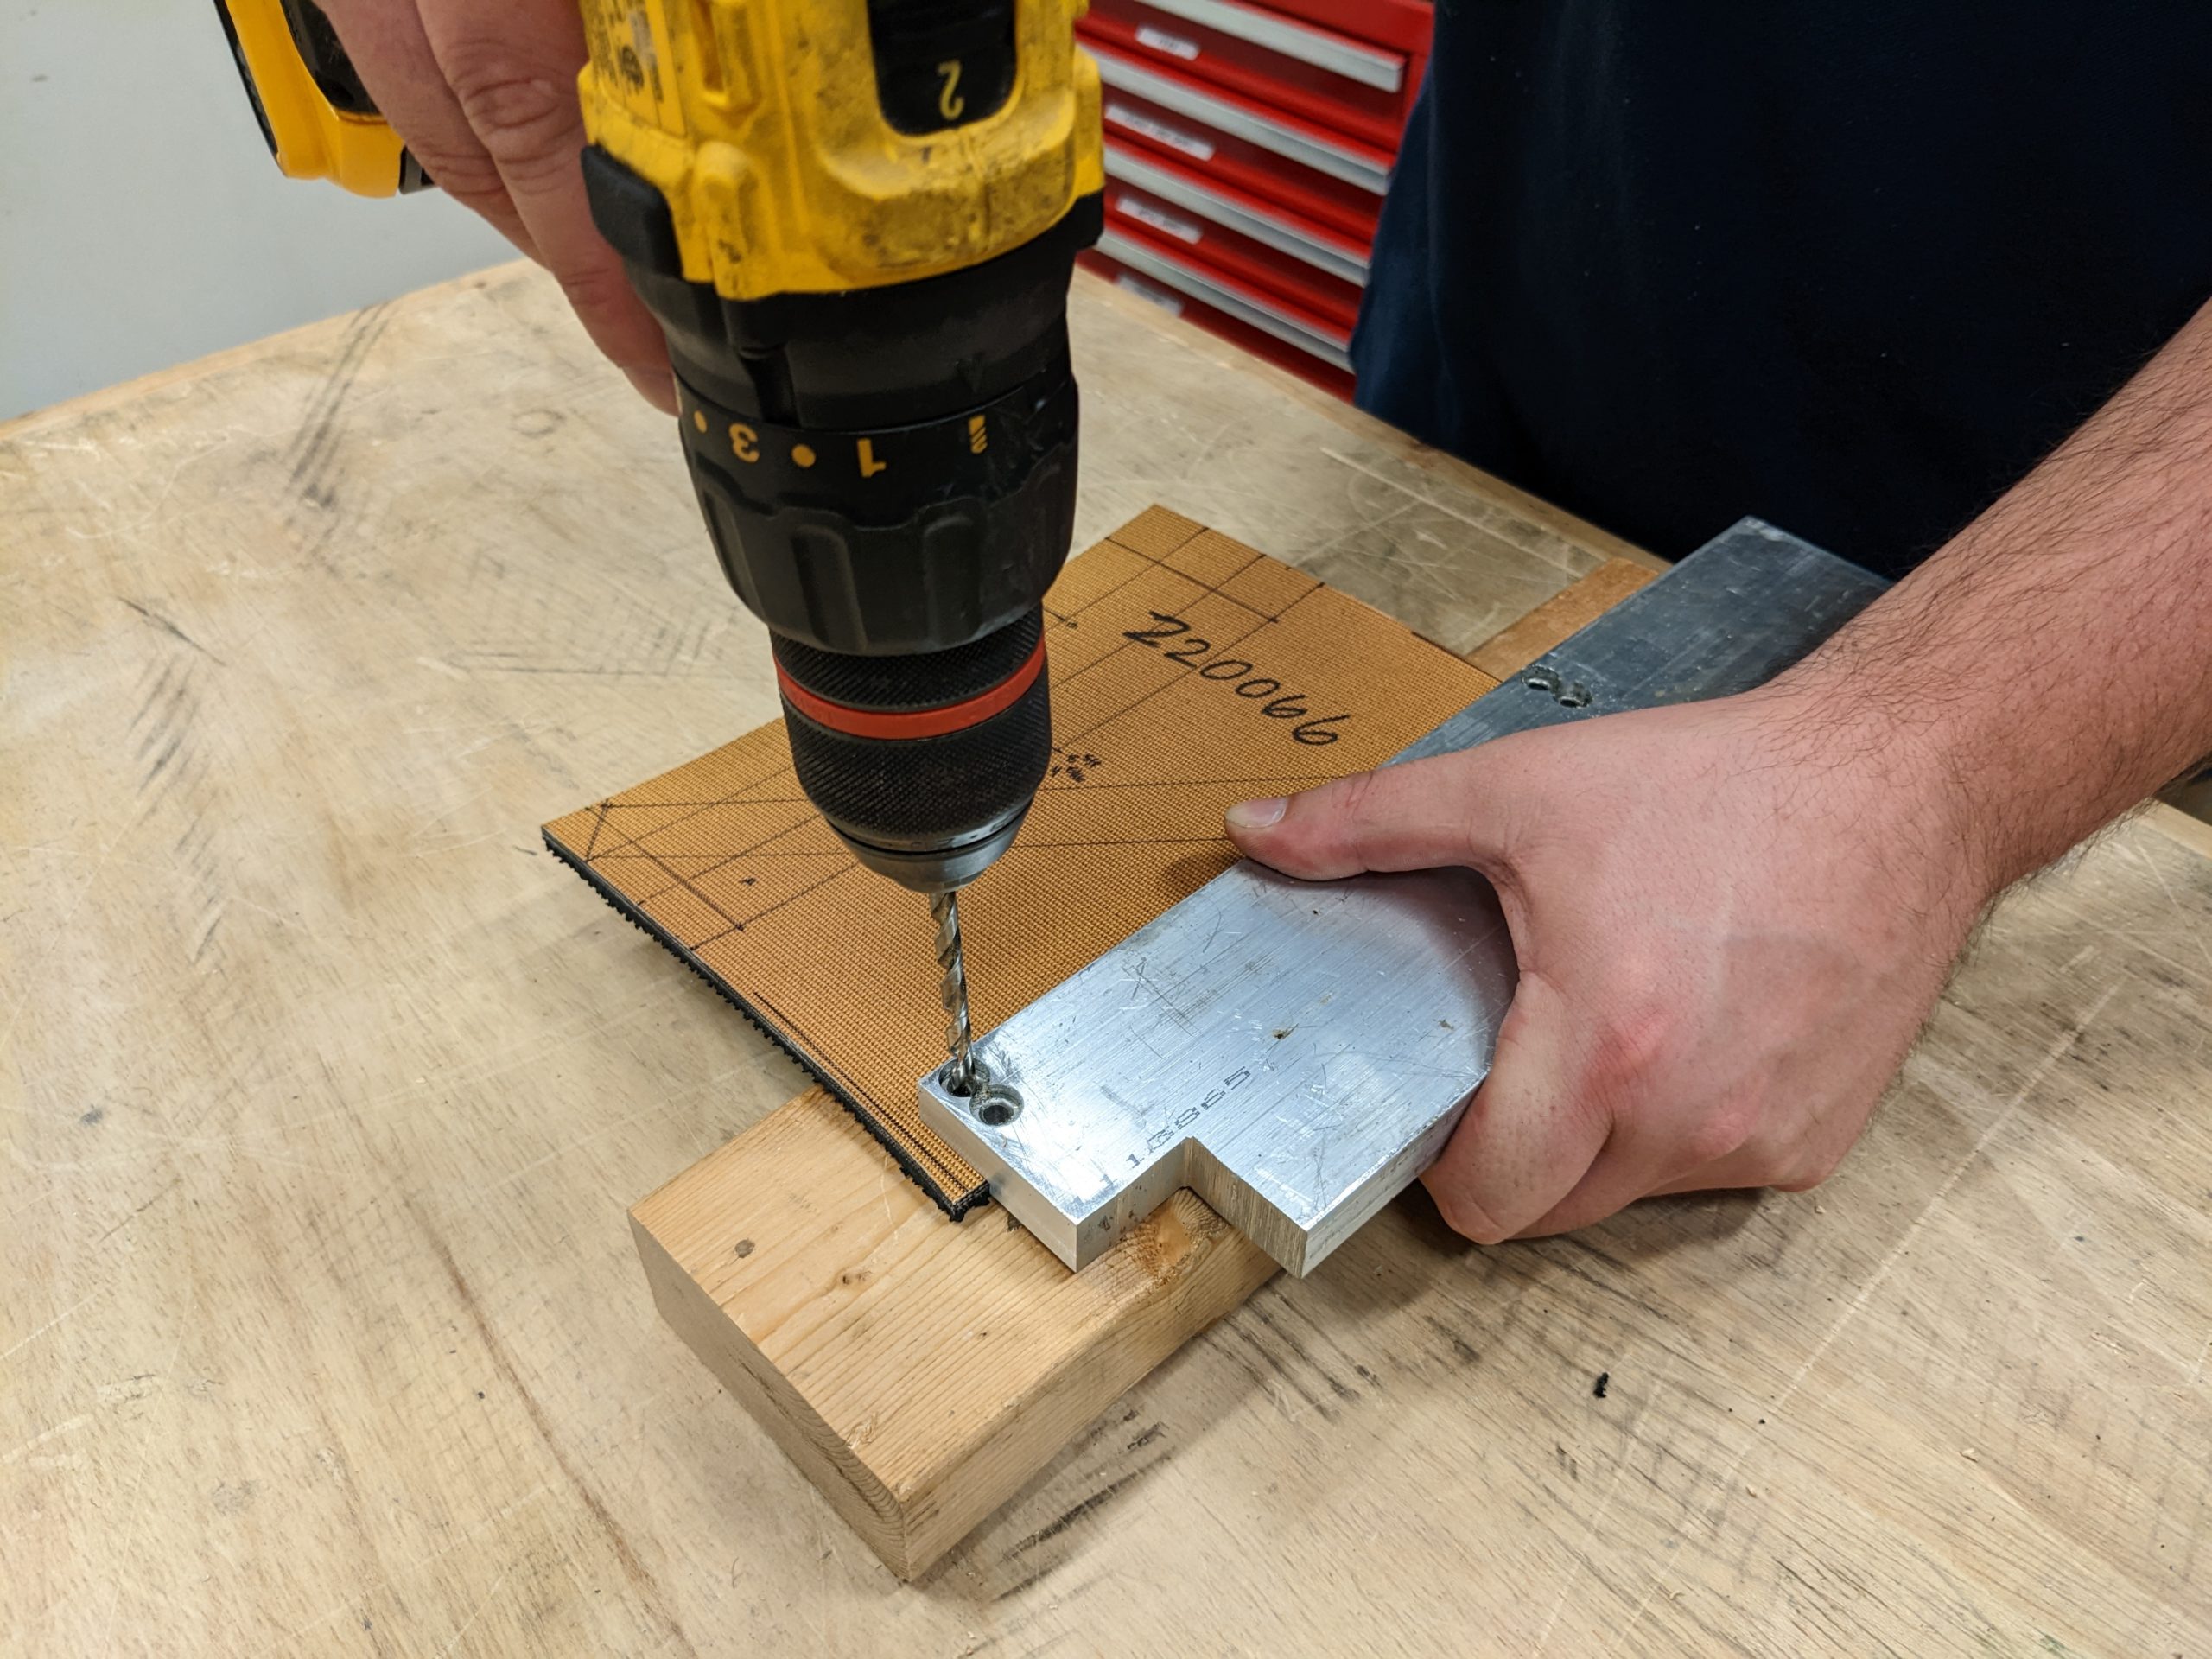
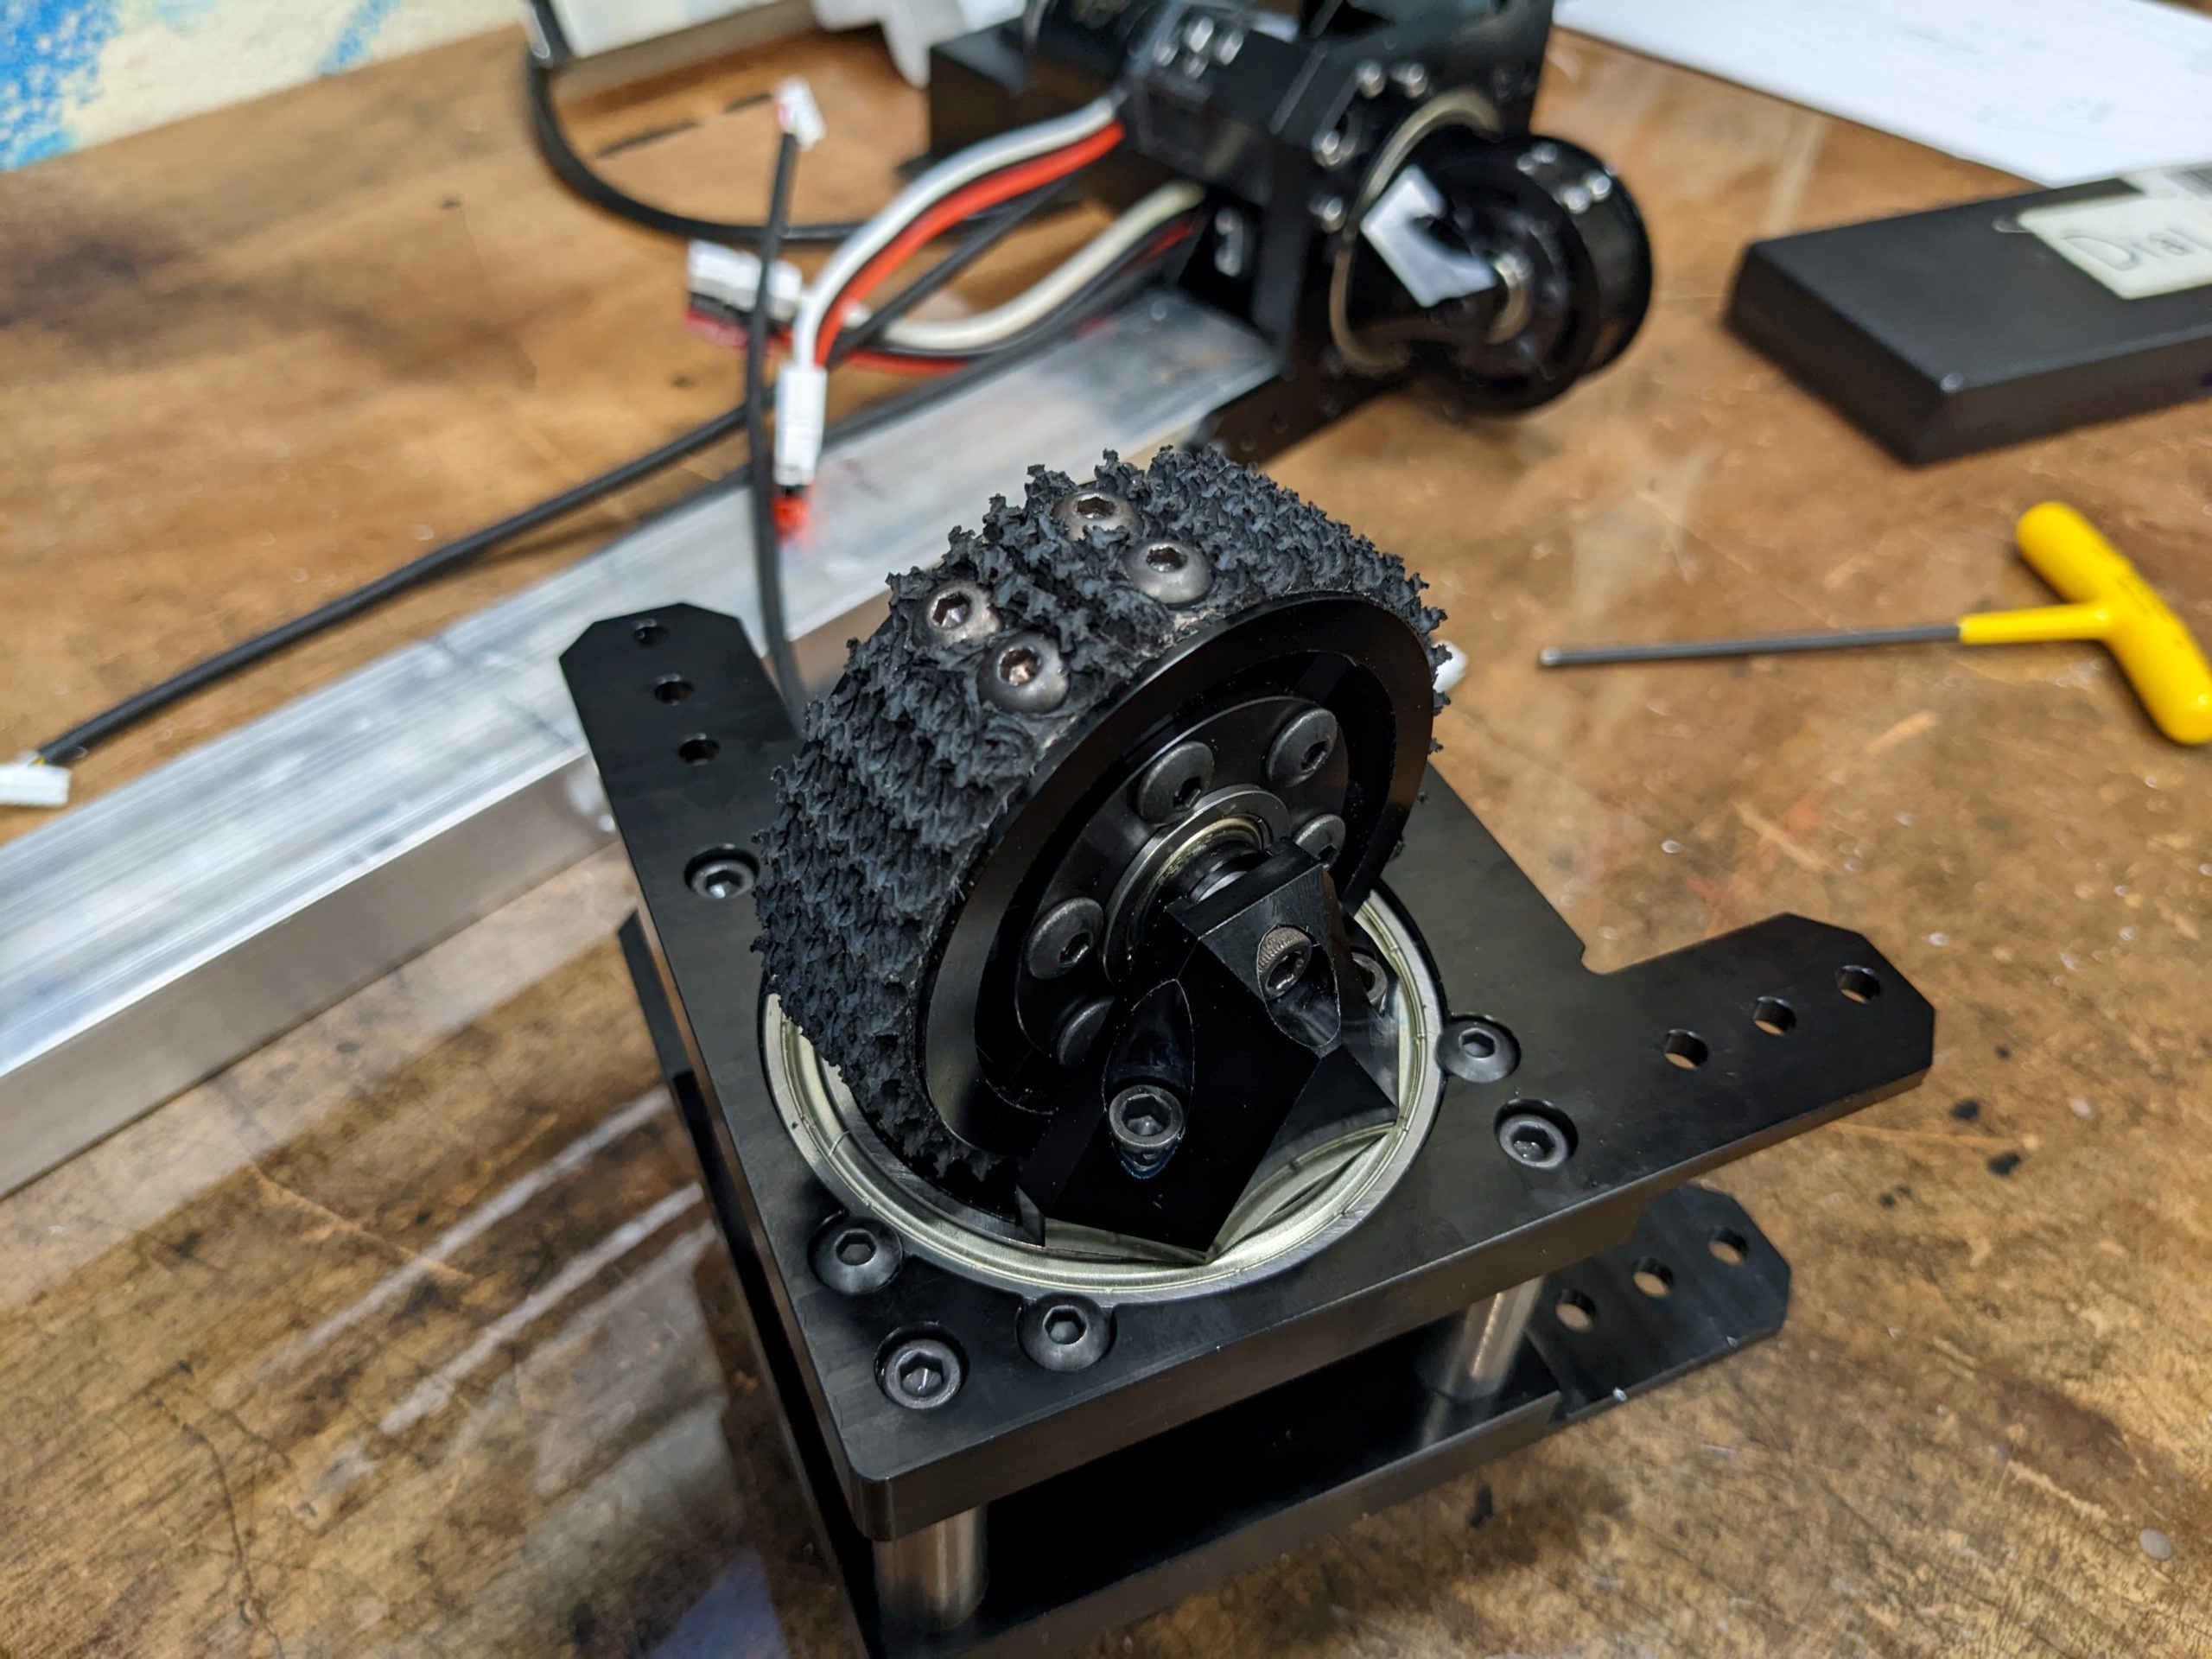
In fall 2022, Triple Helix created a working drilling & marking jig to prepare replacement strips of treads for the aluminum 3″ MAXSwerve Wheel used on the 3″ REV MAXSwerve module.
This jig produces treads with the correct hole spacing for 3-ply black neoprene tread material (McMaster-Carr p/n 5994K1) such that the tread installs tightly on the 3″ diameter x 7/8″ wide billet wheel. Triple Helix found this working hole pattern through four rounds of guess-and-check iteration, and also by drawing on our past experience with the similar tread jigs we made for SDS wheels.
Drill bushings (McMaster-Carr p/n 96511A666) can be pressed into the fixture to ensure that the jig will remain usable for a long time, however users should note that they will need to grind a flat into these bushings since the screw placement is very narrowly spaced.


Triple Helix designed and fabricated a set of drilling jigs to prepare replacement strips of treads for the Swerve Drive Specialties MK4 and MK4i swerve module. These jigs reproduce the hole spacing for black neoprene and blue nitrile tread material shared by SDS’s Patrick Woolfenden here; treads prepared using these tools install tightly on the nominal 4″ diameter x 1.5″ wide MK4 swerve wheel. Triple Helix used our 130W laser cutter to cut the components of the tread tools from 1/4″ Delrin sheet.
Assembly instructions:

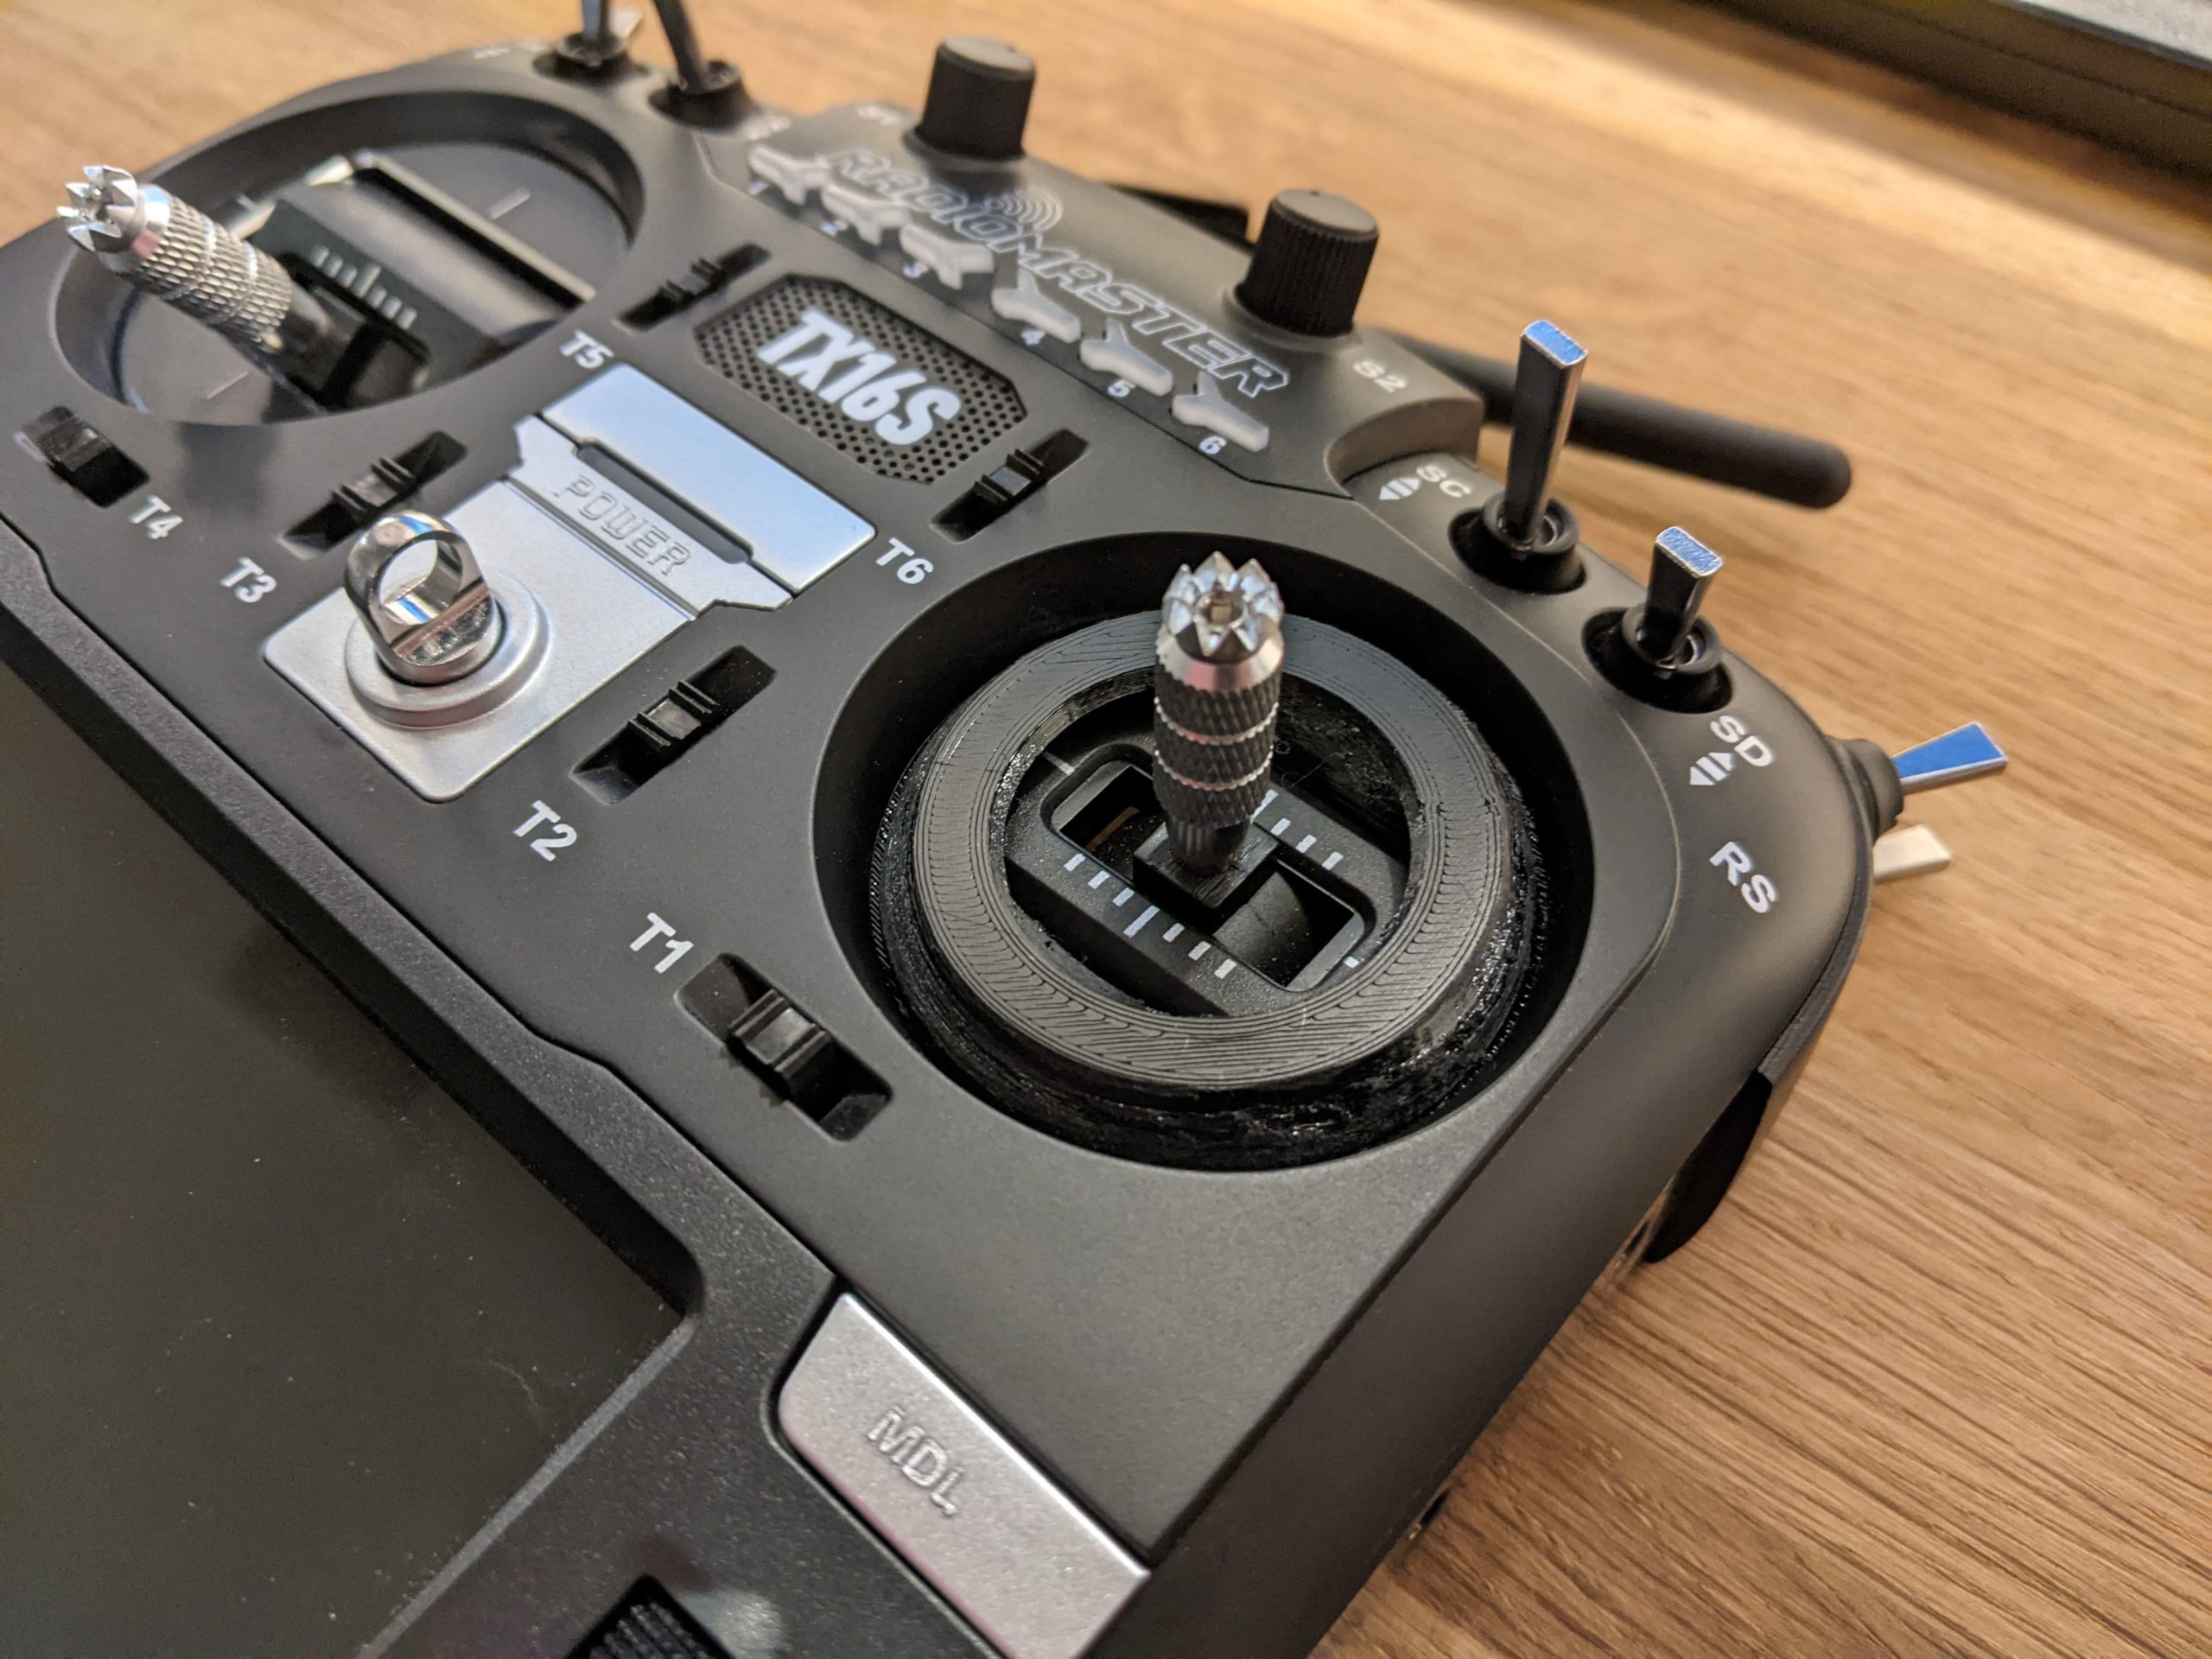
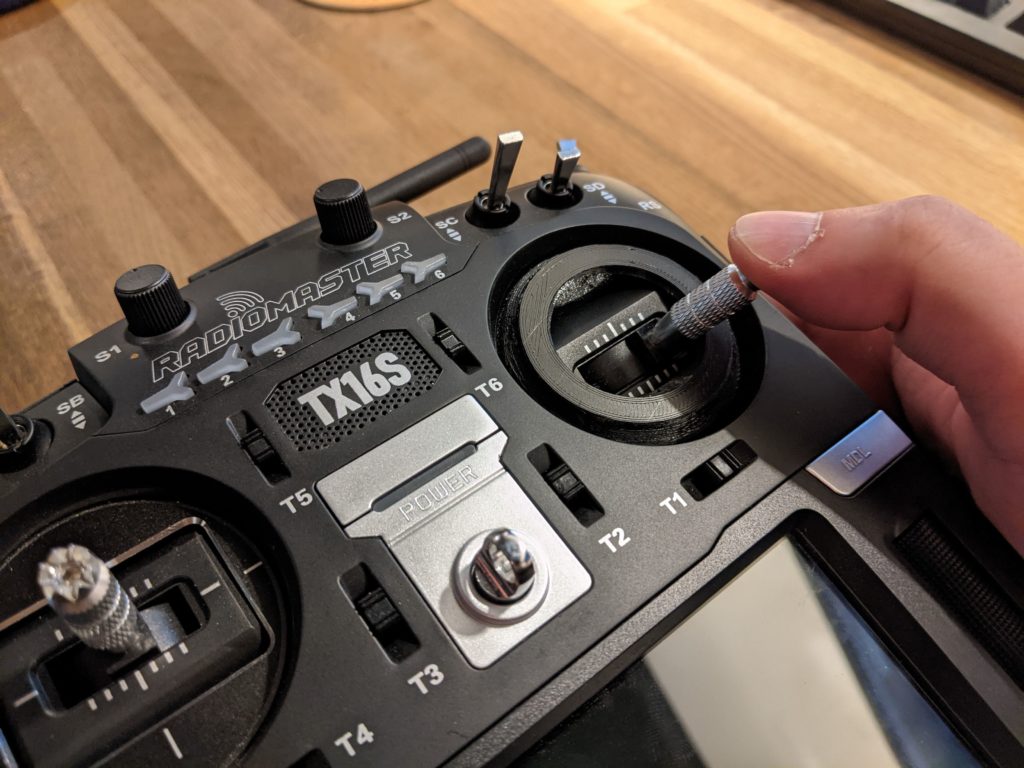
This 3d printable plate replaces a stock part and limits joystick inputs to a circular shape (1= x2 + y2). The mask works on both right and left sticks. The pictured example was printed from PETG with supports at 0.1mm layer height and 30% infill.
Latest complete CAD model of Genome Mu, the Triple Helix robot for the 2020 FIRST Robotics Competition game, Infinite Recharge.